QEMU: quick guide to a powerful virtualization tool
4min read
Tutorial
Linux
March 10, 2018

Sometimes you want to try a new operating system or particular software configuration, but you don’t want to touch your precious PC, risking to make your main production system unbootable. In these cases, software virtualization is your friend.
QEMU is a great open source virtualization tool available exclusively on Linux based systems. Compared to Virtualbox, it is better integrated and has a smaller footprint.
Overview
In this quick guide you will see how to use QEMU to run a Linux Distro (but you can run also other systems like Windows, Android x86 or others). The main steps that we are going to do are:
- Install
qemu - Download an operating system to virtualize (called guest OS)
- Run the guest OS
- [Optional] Configure a virtual disk (to enable data persistence)
- [Optional] Create a simple script to easily run the guest OS
Let’s get started!
1. Installing qemu
First open your terminal and install qemu:
For Ubuntu and derivatives:
apt install qemuOr for Arch linux and derivatives:
pacman -S qemu2. Download an operating system
Right now we will use Ubuntu as a guest OS, but feel free to experiment with many others: QEMU supports a large amount of systems.
Follow these steps to create a new directory and download the Ubuntu ISO:
cd
mkdir virtual-systems
cd virtual-systems
wget -c http://releases.ubuntu.com/16.04/ubuntu-16.04.4-desktop-amd64.iso
3. Run the guest operating system
QEMU can be easily used from the terminal: I prefer this way, because I encountered some small quirks with the available graphic frontends (but in the last years they improved a lot). However let’s focus on getting things done, so grab the terminal and type:
qemu-system-x86_64 -enable-kvm -m 2G ubuntu-16.04.4-desktop-amd64.isoThe last command tells qemu to virtualize an x86 environment with 2 GigaBytes of RAM and with KVM enabled (it speeds up the virtualization, a lot!).
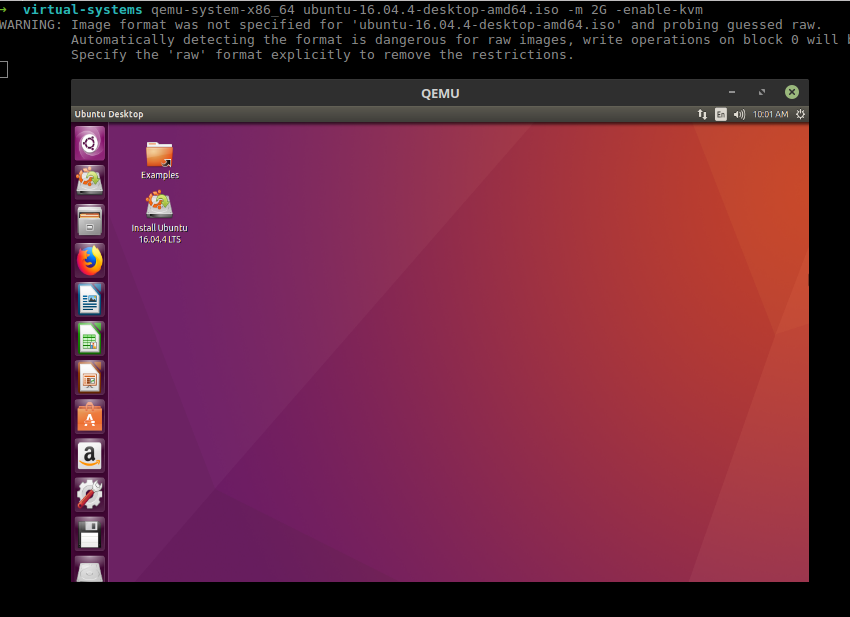
Ubuntu as a guest
Now you can experiment with the live operating system as much as you want, because changes made now, won’t be persisted. This means that if you reboot the guest OS, you will lose all your changes.
If you want to enable persistence, continue with the section!
4. Configure a virtual disk
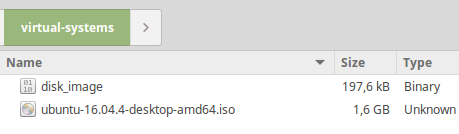
To keep changes across reboots (of the guest os, not out main system), we need to save them somewhere. To tell QEMU where to persist the data, we can use a so called virtual disk image. Let’s create one:
# create a file "disk_image" with format qcow2 and 40GB of max space
qemu-img create -f qcow2 disk_image 40G
This command will create a virtual disk file called disk_image: the parameters
specifies a maximum size of 40GB and the qcow2
format. Don’t worry about the size, because the file will grow only
when the space will be actually used by the virtual OS.
Initially it will take only few KBs:
At this point we can tell QEMU to actually use the virtual disk:
qemu-system-x86_64 -cdrom ubuntu-16.04.4-desktop-amd64.iso -boot order=d -enable-kvm -m 2G -drive file=disk_imageFinally we boot up a virtual system with persistance!
Now start the Ubuntu installation. When it’s finished, you will have all the
data in disk_image and it will be possible to run Ubuntu using only this file, without
the ISO.
From now on, you can start the guest OS (with persistance enabled) using:
qemu-system-x86_64 -enable-kvm -m 2G -drive file=disk_image
do you find it too long to type ? Then read the final step.
5. Create a script to run the OS
A good idea to easily launch your virutal system is to use a script. Open an editor and copy/paste this code:
#!/bin/bash
options="-vga qxl --enable-kvm -m 4G"
image="disk_image"

qemu-system-x86_64 $options $image
Save it as launch-ubuntu.sh and make it executable using
chmodx +x launch-ubuntu.sh.
Everytime that you want to run your virtual Ubuntu system, you can
simply go into the ~/virtual-systems folder and execute it:
./launch-ubuntu.sh.
Possible quirks
When running a virtual system, you can encounter some problem. Personally I
had some issues with setting the resolution of the guest OS. For example
I once installed Antergos (Xfce) guest and I had only a minimal 640x480
resolution.
To fix this little problem I had to install qxl on the guest system.
So for Antergos there is this AUR package:
https://aur.archlinux.org/packages/xf86-video-qxl/:
yaourt -S xf86-video-qxlAfter installing it, simply reboot and then change the resolution.
Running examples
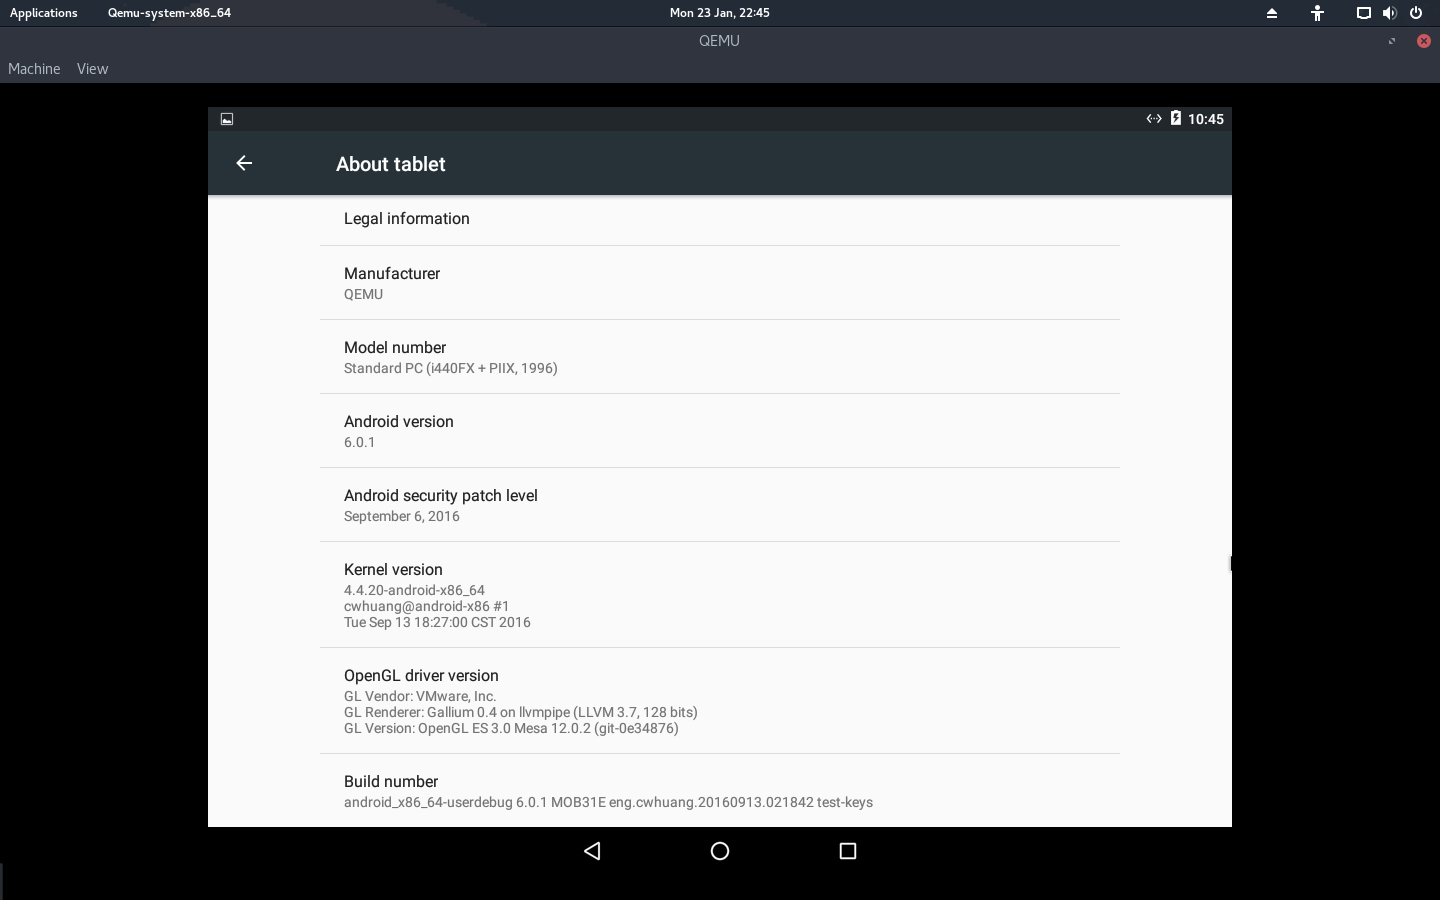
Android on qemu
Antergos on qemu
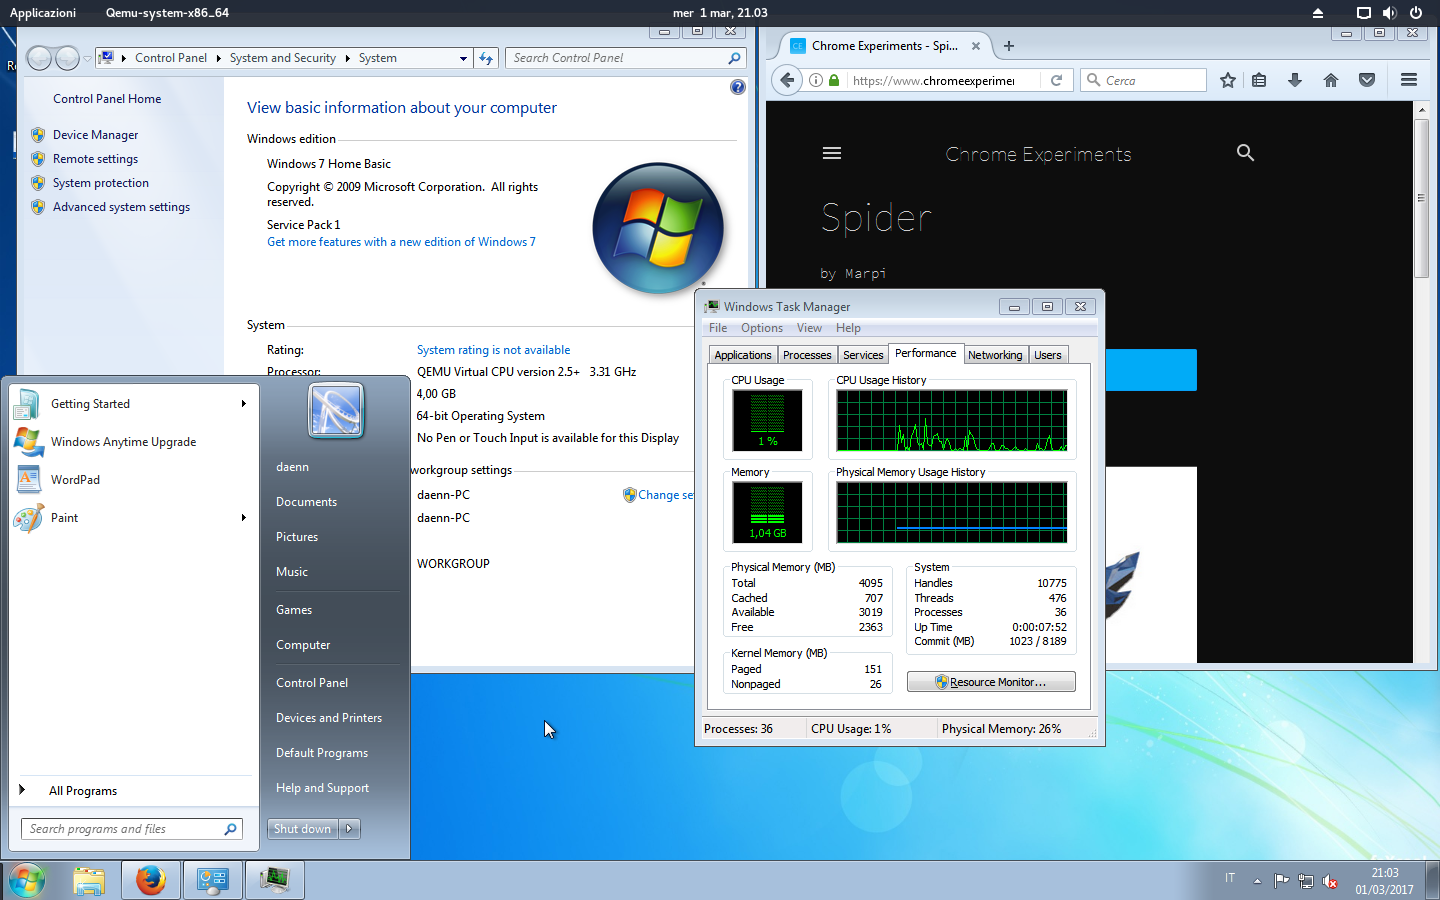
Windows 7 on qemu